At Okanagan Tile Company, our experienced stone setters have years of experience installing beautiful floors, backsplashes, showers, tub surrounds – all types of projects. Below is an overview on what to expect, and the type of preparation involved in a typical natural stone installation.
Floor installation
- Level the substrate, or apply a backer to wooden subfloors.
- Determine the layout.
- Any pieces that need to be cut are done so with a wet saw.
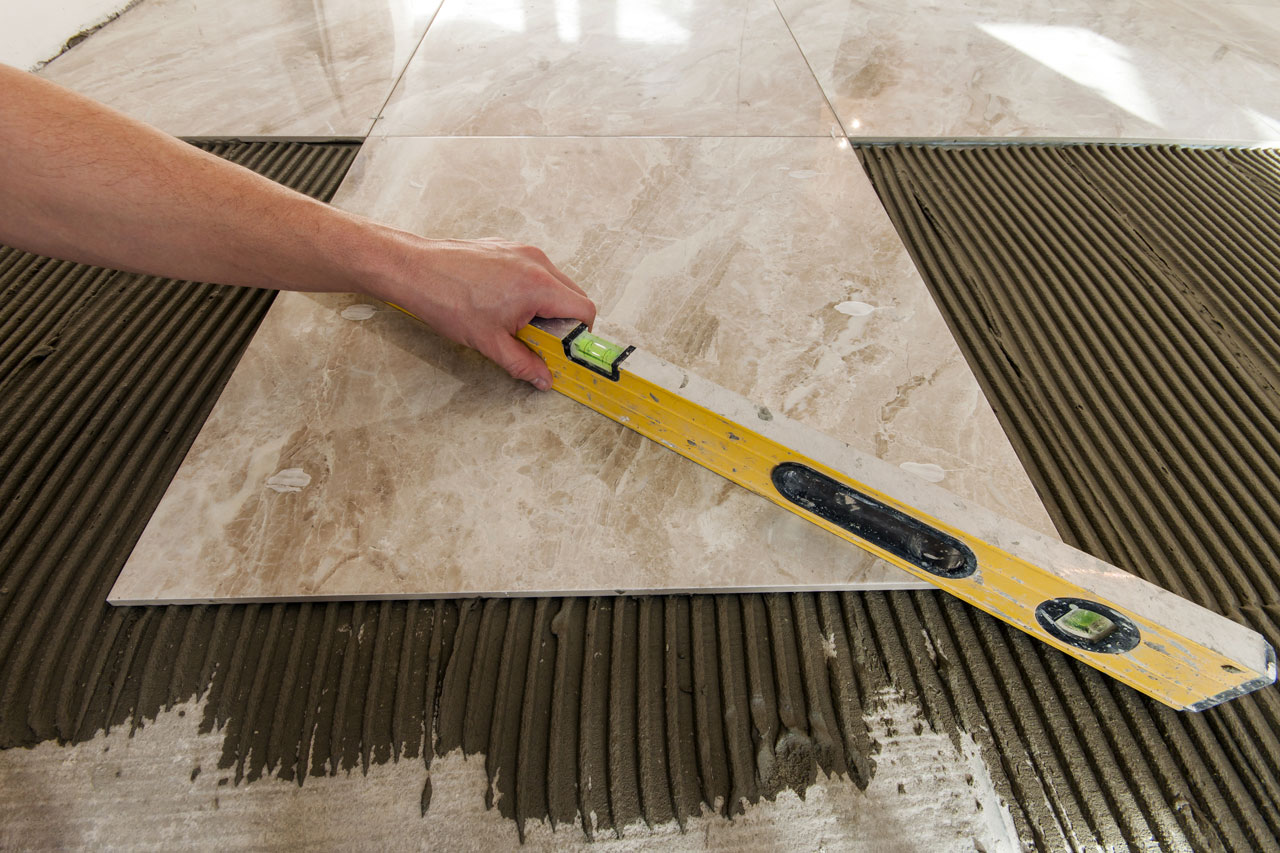
- Thinset mortar, a cement type adhesive, is applied to the flooring surface.
- Stone pieces are placed into the thinset and firmly pressed into place.
- Depending on the product used, may be installed with narrow grout joints. In larger areas, wedges or spacers may be used to maintain consistent spacing. The back of the tile may be “buttered” with thinset mortar to strengthen the bond.
- After setting, and the thinset mortar has fully cured, joints are filled with grout.
- Both sanded and unsanded grouts are used. The type of grout used is determined by the stone product, grout joint and width.
- Doors may need to be shaved and rehung, depending on whether the new floor is a different height than the previous one, in the case of a renovation.
- Good ventilation of the area is required for 48 to 72 hours afterwards, to allow the odour from the glue to dissipate.
- A sealer may also be applied once the final floor is finished. If being applied to unglazed products, this procedure is done prior to grouting to prevent the grout from staining the stone.
Bathroom and Backsplash Installation
- Removal of existing materials (in the case of a renovation)
- Preparing the exposed surface the stone will be applied to
- Determine the layout
- Any pieces that need to be cut are done so with a tile cutter or wet saw
- Thinset mortar applied to the prepared surface with a trowel
- Stone is set and held in place by either self-spacing, or the use of plastic spacers to maintain consistent joints.
- Extra time is taken in laying tiles around plumbing fixtures
- If required, edging materials such as bullnose tile is installed
- Allow the mastic to cure overnight
- Grout is then applied, and wiped off with a damp sponge
- Caulking is applied to match the grout in areas around tubs, sinks etc.